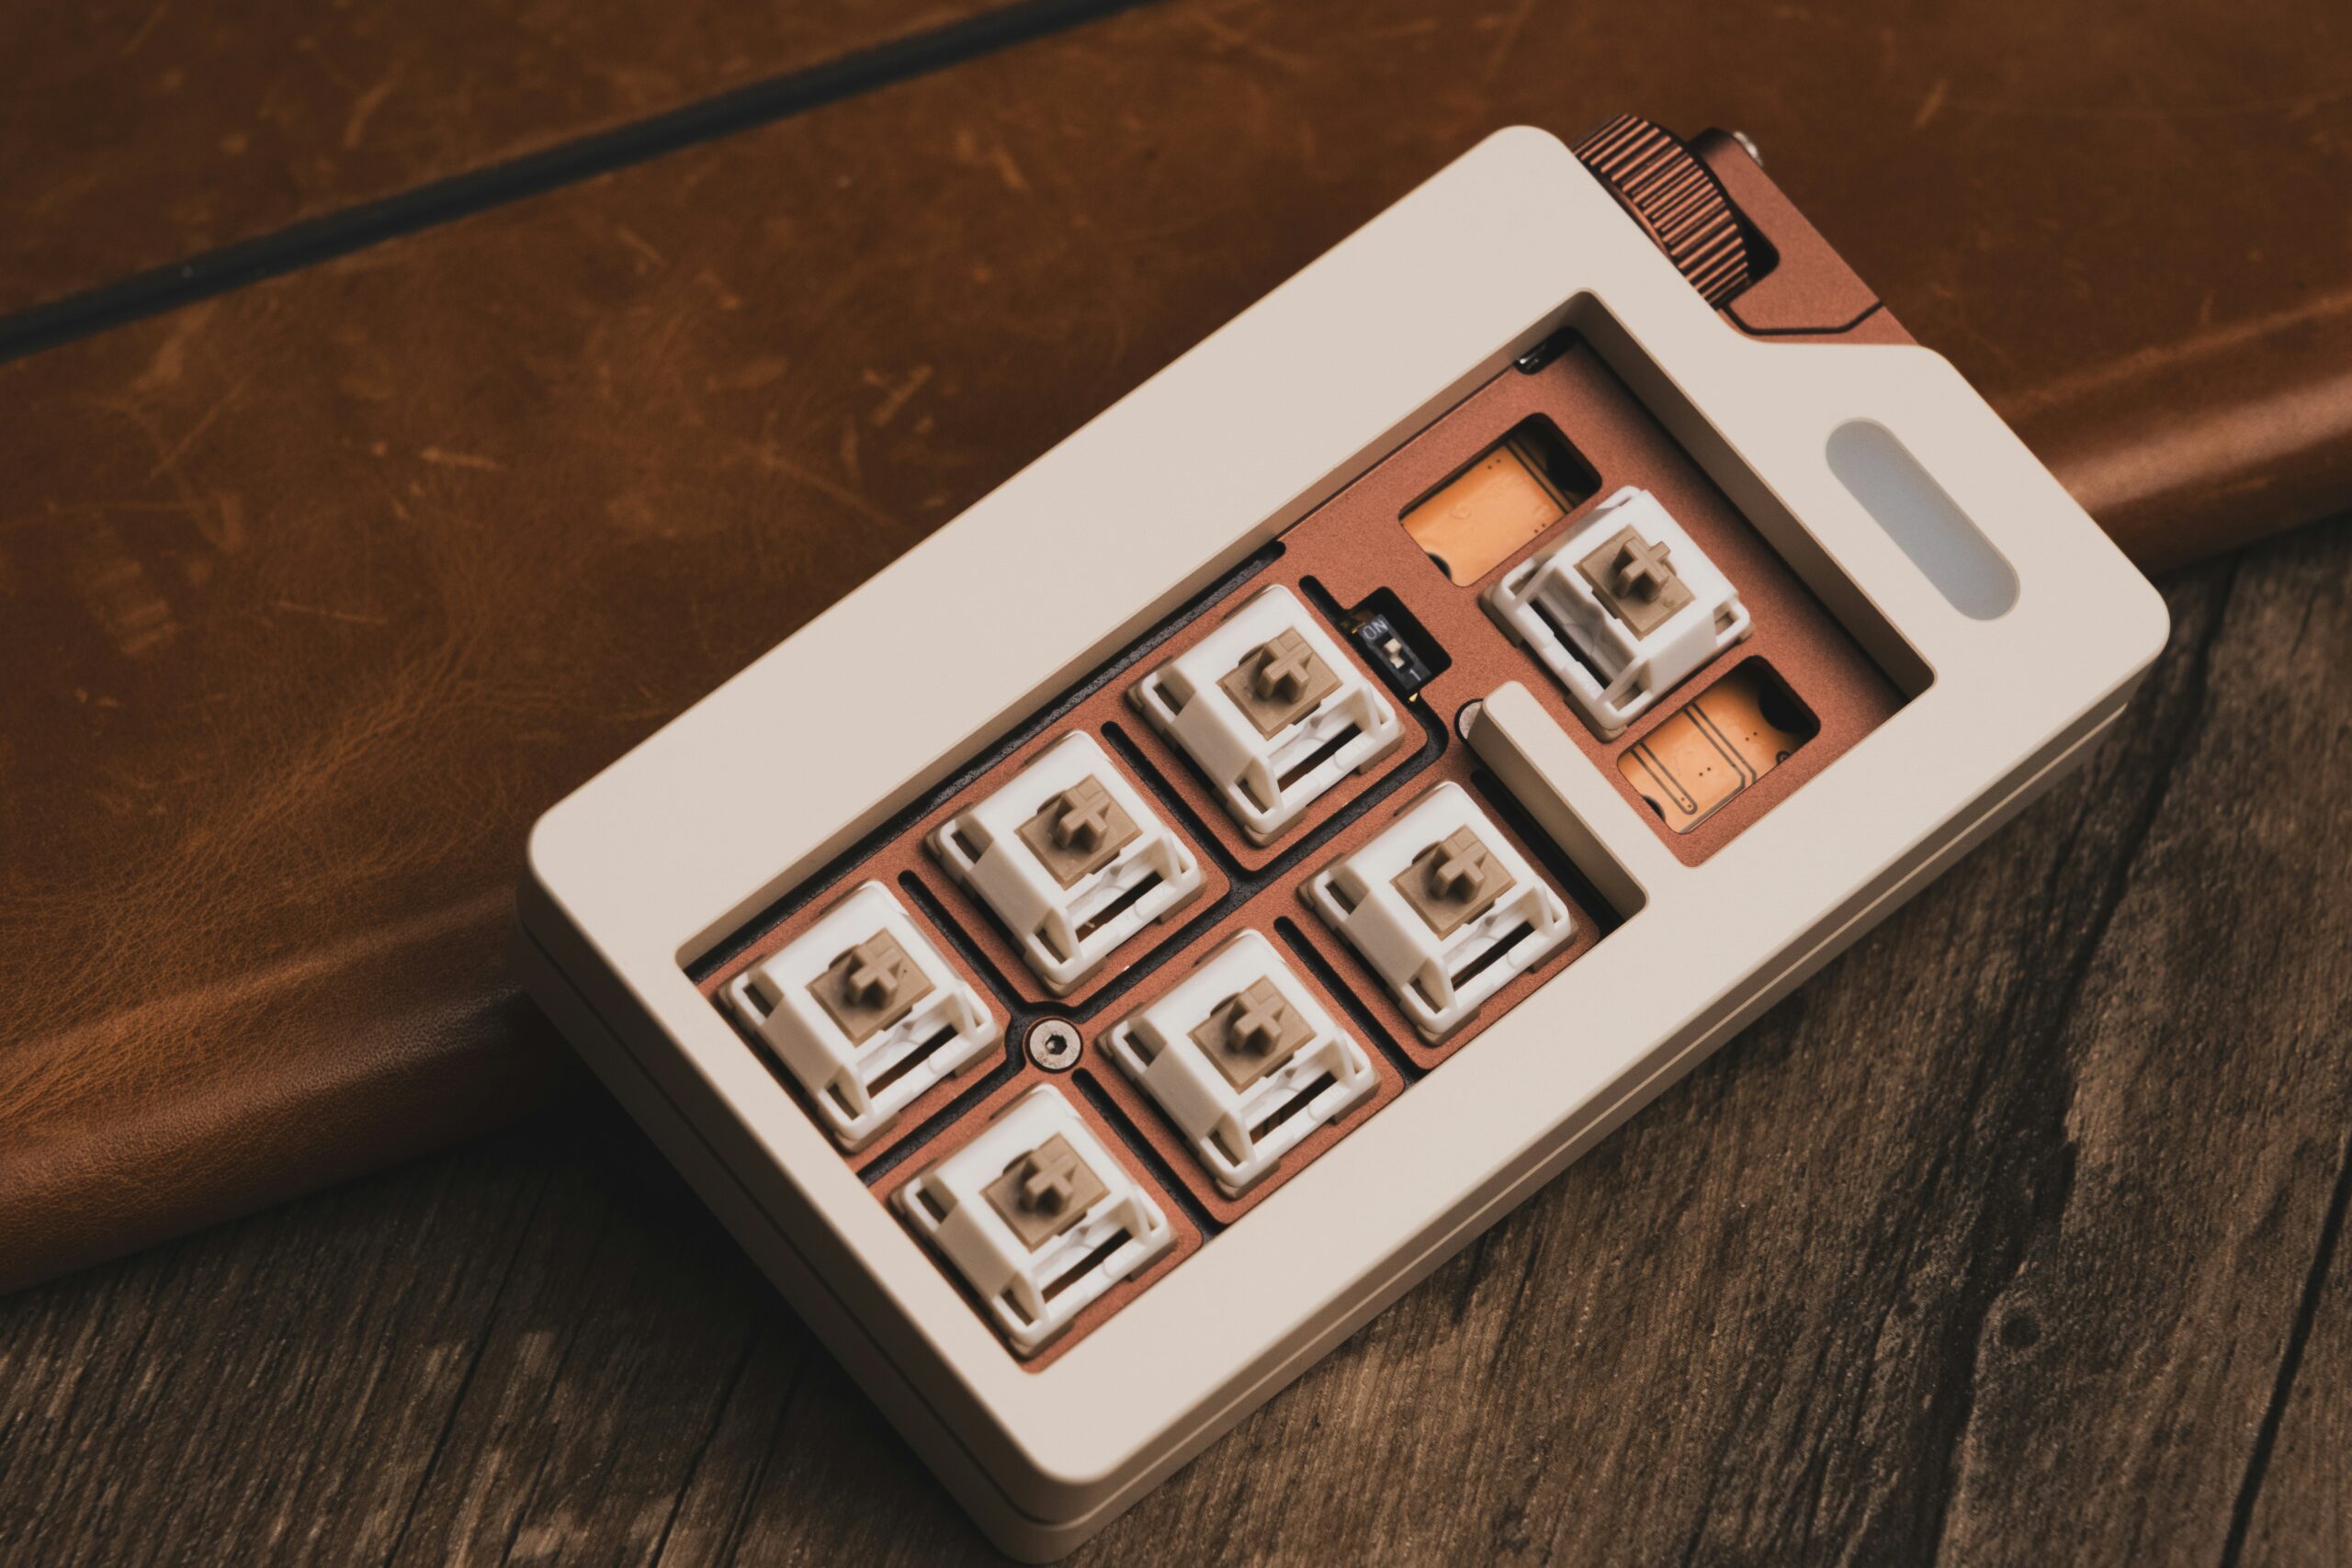
Are you ready to take your mechanical keyboard to the next level? If you’re looking to enhance your typing experience and customize your keyboard to perfection, it’s time to dive into the world of switch and stabilizer modification. From lubing switches to tuning stabilizers, there are plenty of fun and rewarding mods to explore. So, grab your tools and let’s get started on your journey to keyboard nirvana!
1. Lube Your Switches:
Lubing your switches is one of the most popular mods among keyboard enthusiasts. By applying lubricant to the moving parts of your switches, you can reduce friction, eliminate scratchiness, and create a smoother and more satisfying typing experience. Here’s how to do it:
- Disassemble the Switches: Start by carefully opening up your switches using a switch opener tool or a small screwdriver.
- Apply Lubricant: Using a fine brush or applicator, apply a thin layer of lubricant to the slider rails, springs, and contact points of the switch.
- Reassemble the Switches: Once you’ve lubed all the necessary parts, carefully reassemble the switches and test them out to ensure smoothness and consistency.
Experiment with different types of lubricants and application techniques to find the perfect balance of smoothness and responsiveness for your switches.
2. Tune Your Stabilizers:
Stabilizers play a crucial role in ensuring a stable and consistent typing experience, especially for larger keys like the spacebar and enter key. Here are some tips for tuning your stabilizers:
- Clip the Stabilizers: Clipping your stabilizers involves removing excess plastic from the stabilizer stems to reduce wobble and improve key stability.
- Lube the Stabilizers: Just like switches, stabilizers can benefit from lubrication to reduce friction and improve smoothness. Apply lubricant to the stabilizer wires, housings, and contact points.
- Band-Aid Mod: The band-aid mod involves placing a small piece of adhesive bandage or soft material between the stabilizer and the PCB to dampen sound and reduce rattle.
Experiment with different mods and techniques to find the perfect combination that suits your typing style and preferences.
3. Additional Stabilizer Mods:
In addition to the basic tuning techniques mentioned above, there are several advanced stabilizer mods that you can explore to further enhance your typing experience:
- Screw-in Stabilizers: Upgrade to screw-in stabilizers for added stability and durability.
- Dielectric Grease Mod: Apply dielectric grease to the stabilizer wires for enhanced smoothness and reduced noise.
- Stabilizer Housing Mods: Experiment with different stabilizer housing mods, such as clipping, lubing, and filling, to fine-tune the feel and sound of your stabilizers.
Conclusion:
Modifying and tuning your mechanical switches and stabilizers is a fun and rewarding way to personalize your keyboard and elevate your typing experience. Whether you’re lubing switches for smoother keypresses or tuning stabilizers for reduced wobble, there’s a world of mods and techniques to explore.
So, grab your tools, unleash your creativity, and get ready to take your keyboard to the next level!


Leave a Reply